Sunday, December 4, 2011

Snowflake Ornament

So easy to make, and a great way to recycle

All you need: 
-toilet paper roll
-paint
-glue
-glitter
-a hole punch
-ribbon

-Flatten an empty toilet paper roll

-Cut it into pieces 

-glue the pieces together at the tips

-Let the glue dry completely 

-I painted mine silver

-then I painted on a coat of glue and covered it in glitter


-to finish it off i punched 2 holes and added a ribbon

Friday, November 18, 2011

DIY French Manicure


WHAT YOU NEED:

  • White nail polish 
  • Clear nail polish
  •  Nail polish remover 
  • Q-tips


STEP 1:
Paint your nails with the white polish and let dry
 (paint about half way down the nail)


STEP 2:
pour some of the nail polish remover into the cap so you can dip the Q-tips in it easily

wipe away the excess white polish with a Q-tip soaked in nail polish remover
 making a smooth rounded line


STEP 3:
Add a coat of clear polish (you could also use a sheer pink)
and you're done


Saturday, February 5, 2011

Etched Mirror


I used etching cream to create the foggy effect on the edges of this mirror, and a stencil cut from packing tape to create the design of curving lines

I made a frame using 6 rectangular mirrors:

Each mirror is 7 X 3

I drew the design that i wanted to etch onto the mirrors on paper. Then i covered each mirror with packing tape and drew the design onto the mirrors. 

Its a little hard to see but these mirrors were each covered with packing tape before I drew on them with sharpie
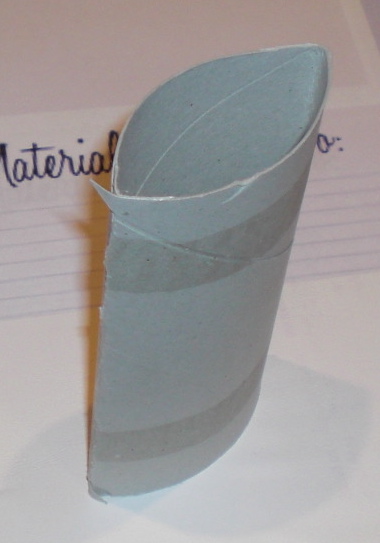
I used an exacto knife to cut the design out of the packing tape, and then i peeled off the tape around the edges creating a stencil.
Cutting out the stencil

Peeling off the tape around the design 


 Once i finished cutting the stencils out the mirrors were ready to be etched (I used Armour Etch glass etching cream). I applied the cream, let it sit for 5 minutes, and then rinsed it off.  

Applying the Etching Cream
This is what the frame looked like when i was done etching the pieces
The center piece is a 7x8 piece of mirror that i got from a glass and mirror shop. I just gave them the dimensions and they cut it for me.

I still have to connect all the pieces and mount them on something (I'm thinking a piece of wood) so I'll Post again when I'm all finished


Tuesday, January 25, 2011

Simple Cardigan


I found this piece of fabric in a scrap bin. It was really soft and I loved the colors (its black on one side and grey on the other) but there wasn't much fabric. My original plan was to cut off the bottom rectangle and make a scarf but when i draped it over my shoulders to see what it would look like as a scarf i discovered that the rectangular piece fit perfectly over my back. with this simple shape and a very minimal amount of sewing it was complete in under 30 minutes!  

Find fabric and cut it to size:

Fold fabric over and aline corners:

the two sides are not the same length, thats ok!
just make sure the corners are lined up

Sew the sides together. Start at the corner and sew 6 inches up each side, and the space left open will be the arm holes:


Once you have cut and sewn your fabric you are done!
(I didn't need to finish the edges of my fabric because it didn't fray, but if you replicate this with a fabric that does fray you may need to finish your edges)


Sunday, January 23, 2011

Chair: Complete!

I finally finished reupholstering my chair. It was definitely a learning experience but I'm pretty happy with the results.  
Before            -                         After


Friday, January 21, 2011

Finishing Touches

The chair has come a long way! I've added buttons to the back cushion, and replaced all the old fabric with the new, but i still have a couple finishing touches before its completely finished.
Buttons!

There will be buttons on the seat cushion

I have to do some sewing on the shoulder to keep it in place

Monday, January 17, 2011

Almost There!

I've been continuing my work on the chair and it has come a long way, but it's not quite finished yet. here are some pictures of the most recent additions:
I had to hand sew some of the pieces together

Shoulder Before

Shoulder After 


Only three more pieces and thirty buttons to go until my work is complete!

Sunday, January 9, 2011

Making Progress

Today I recovered the back and seat of the chair: 


I used the old fabric as a pattern so that I could recreate the same shape with the new fabric.


Ok so I'm happy with the way it's looking so far. It still needs buttons and a lot more reupholstering. I'm a little nervous for the next part. I have to take apart the chair to figure out how the original pieces were attached, It'll probably be a big mess.